Taking Website backup using cPanel
Taking Website backup using cPanel
By: Vaibhav Munjaal , MunjaalOnline.com
We are all aware that how necessary it is to maintain backups in this digital world nowadays. So make it a habit to backup your website and data on regular basis so that, just in case, if any emergency or mishap happens, you can restore your backup and get going again. Here is the step by step process of how to take website backup using cPanel.
Please ensure to read completely before attempting backup! Only you are responsible for what you are about to do, this method may not apply to your situation and is for demonstration purpose only.
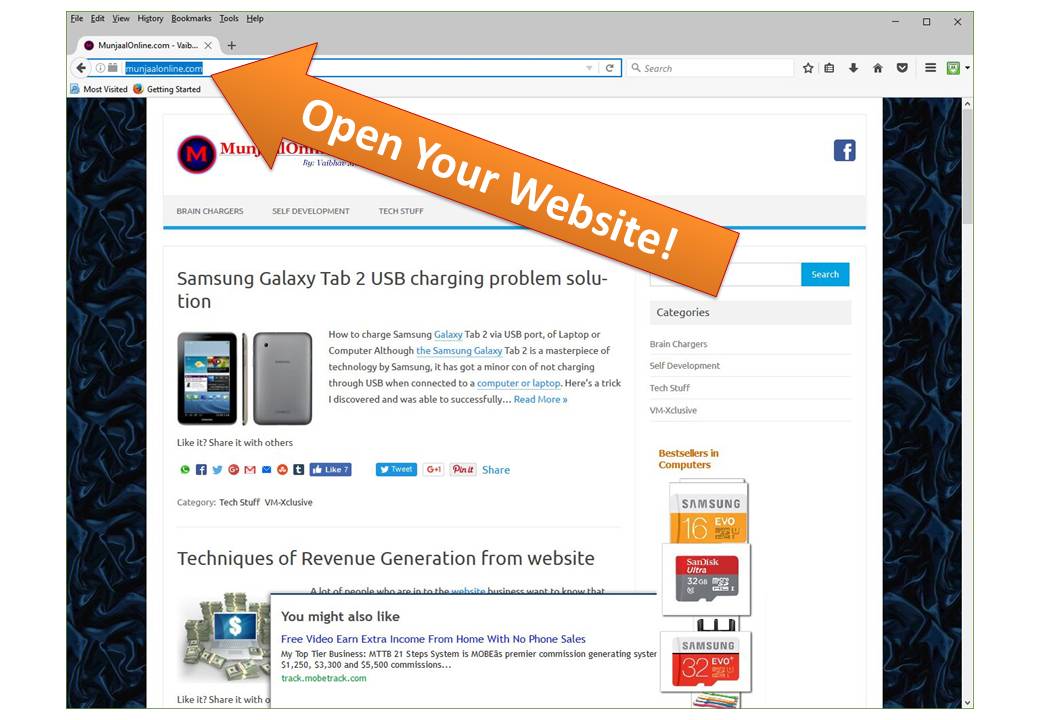
Step 1 : Open Your website.
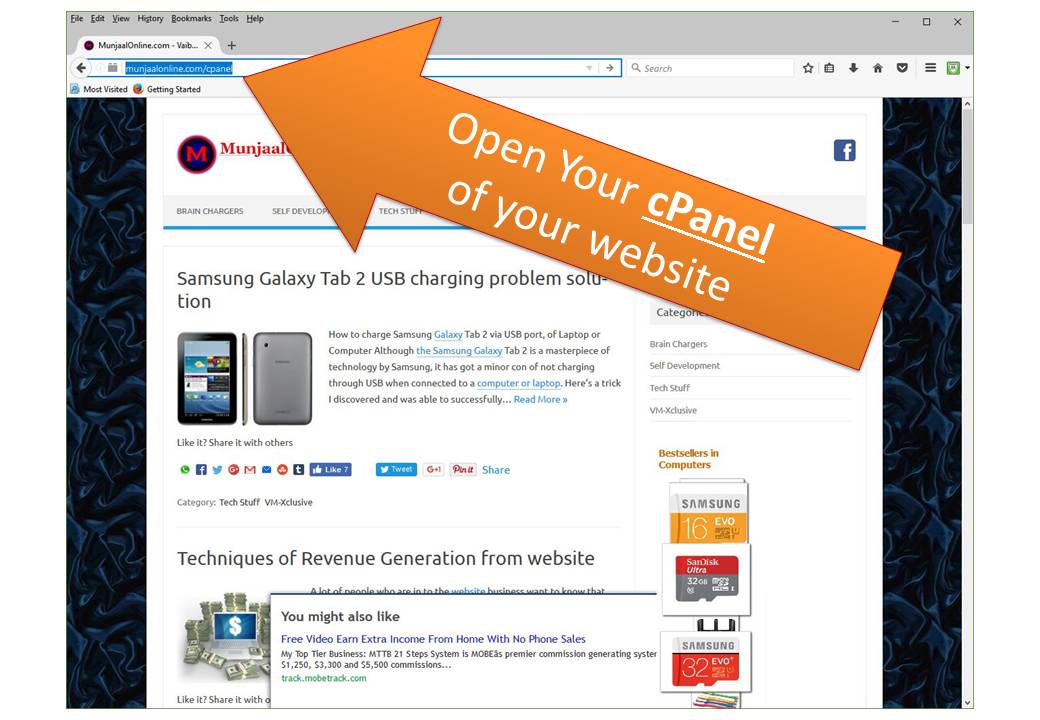
Step 2 : Open cPanel (the control panel) of your website.
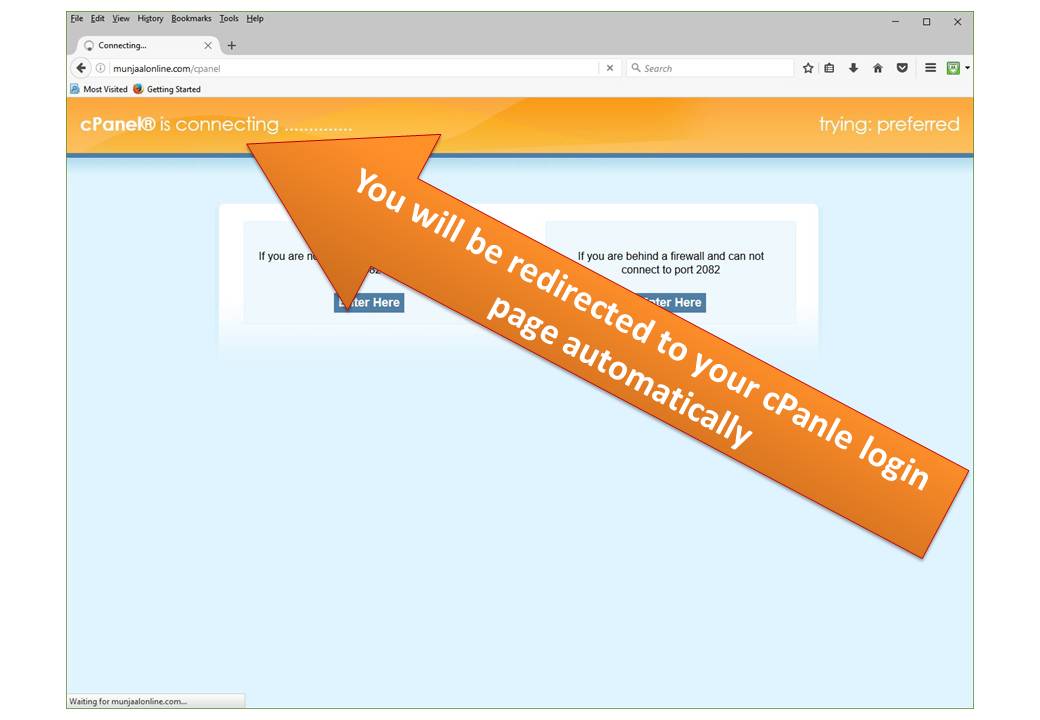
Step 3 : You will automatically be redirected to you cPanel Login Page.
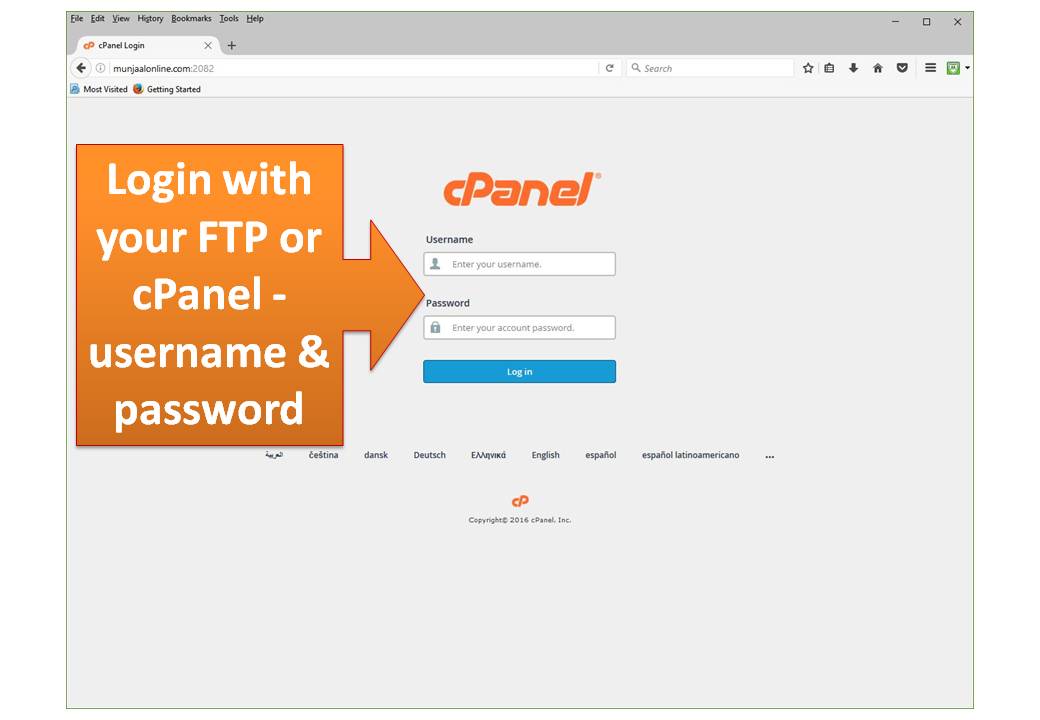
Step 4 : Login to your cPanel
You must be have been provided with your FTP/cPanel credentials i.e your username and password, by your service provider. Generally the passwords are kept complicated for better security. It is advised that you always keep these credentials hard to guess, safe and secret so as to prevent any misuse by anyone.
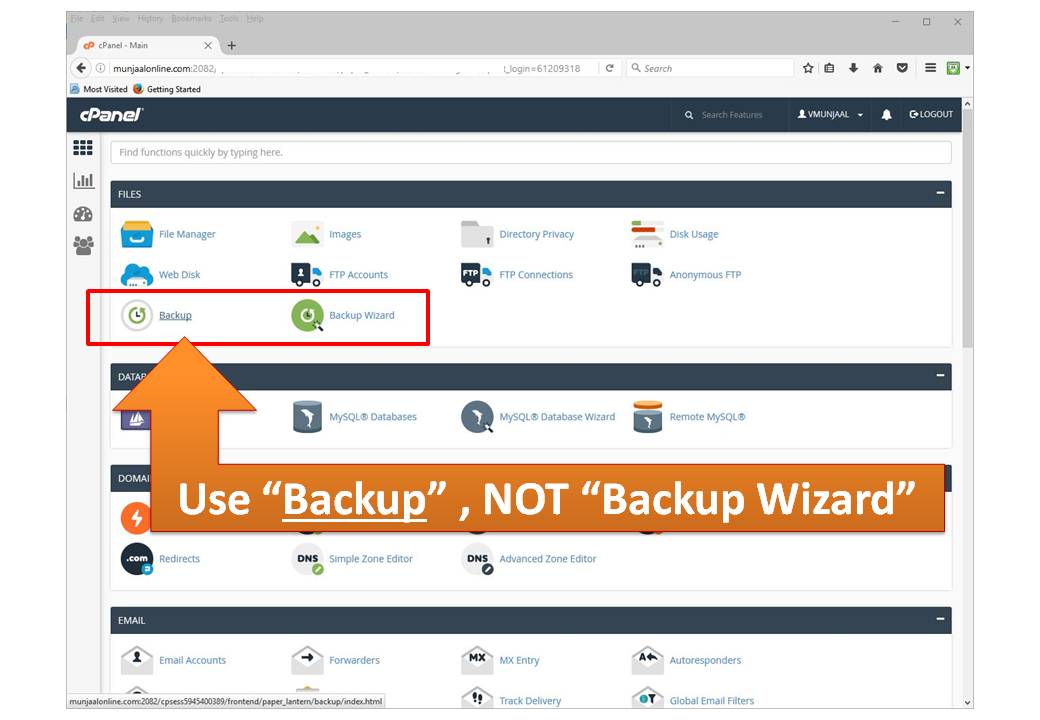
Step 5 : Go to Files > Backup
You may find “BACKUP” tool under the “Files” section of your cpanel interface.
Do not get confused between “Backup” and “Backup Wizard”. We intend to show the usage of “Backup” here and NOT “Backup Wizard”.
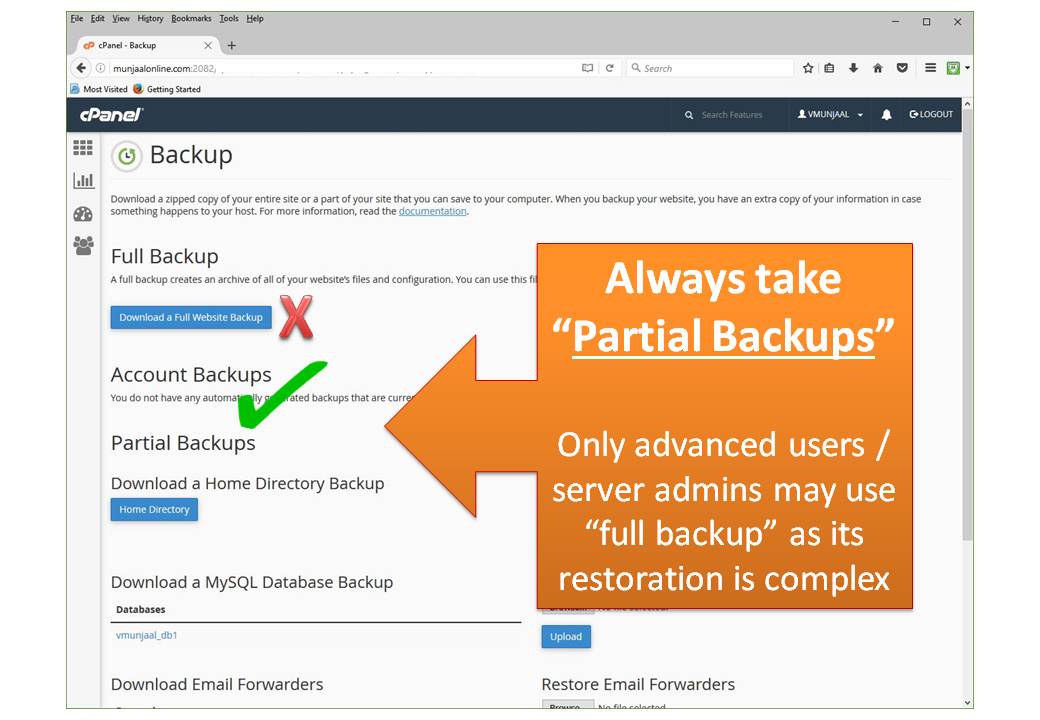
Step 6 : Use “Partial Backup” and NOT “Full Backup“
For normal users, it is suggested that you download “Partial Backup” files separately as a “Full website backup” can only be restored by server admin and needs advanced knowledge of server configurations. Where as “Partial backups” can be restored simply by uploading the backup files.
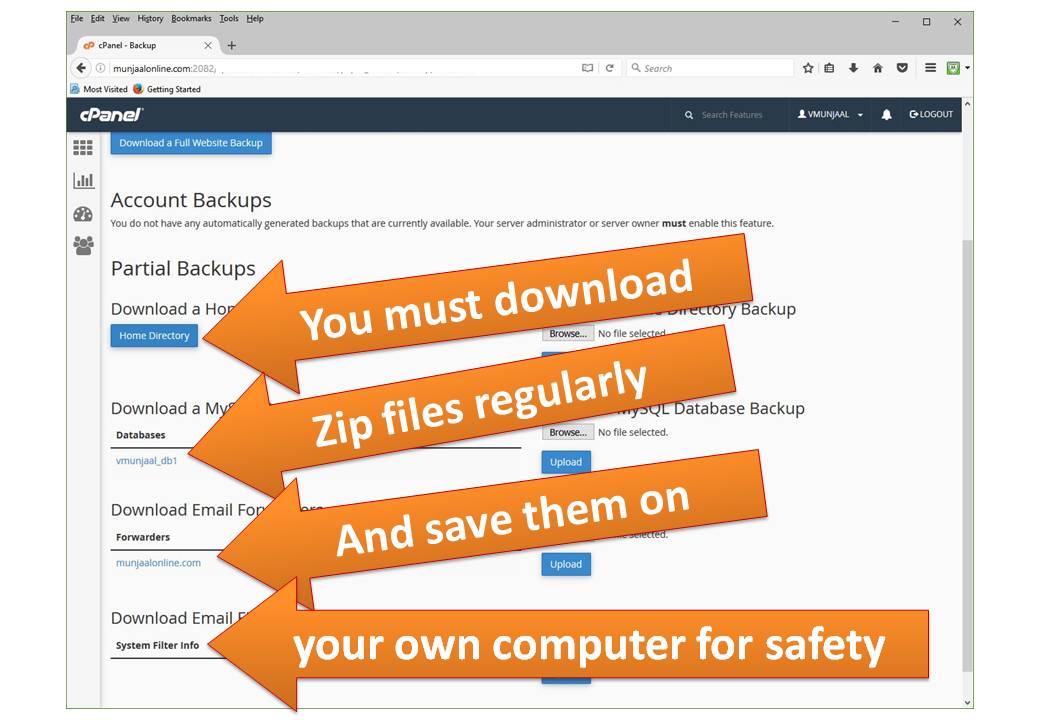
Step 7 : Using “Partial Backup” to download website files, from server to own system
To download partial backups, you can simply click and download the backup files available under following 4 headings:
- Download a Home Directory Backup
- Download a MySQL Database Backup
- Download Email Forwarders
- Download Email Filters
It is recommended that you create and store all these files in a folder and keep them safe as a backup on your system or a portable storage device.
Step 8 : Restoring “Partial Backup“, uploading to server from your own system
If ever you need to restore the backup, you can simply upload and restore the backup files, all or as needed, and restore the functionality back. Simply Browse>Select and Upload your backup files respectively. The upload will be followed by an file extraction & restoration process and may take some time, few seconds to a few minutes – depending on size of file and contents. Do not refresh this page, have patience.
 Please note: However, most of the times there is no need for any advanced action after restoring your site. But some times few errors may be encountered on the restored file. Few areas you can try for trouble shooting are:
- File/Folder permissions
- URL change
- Database Settings changed
- Database entries changed
You may need to make the changes to the above manually in order to completely restore the functionality and may need technical assistance or knowledge for the same.
Make it a habit to take backups regularly, many people loose their hard work just because the skip this simple but very important step. You never know what may happen so it is always better to be prepared for the worst and perform to the best 🙂
Keep backup – Be Safe!
All the best!
Regards
– Vaibhav Munjaal
MunjaalOline.com